

Most privacy fence installations take between 2 and 6 weeks from the initial consultation to the final walkthrough. However, the physical construction typically only requires 1 to 3 days on-site. The bulk of the timeline involves administrative tasks like permitting and material procurement. This guide breaks down exactly where that time goes so homeowners can plan effectively. With extensive experience managing these projects, Acme Fence understands that accurate scheduling prevents frustration and ensures a smooth build process.
The Planning and Design Phase
This initial stage usually takes about one week. It begins with a site visit to measure the property lines and identify potential obstacles like slopes, trees, or retaining walls. During this visit, the homeowner selects materials and determines the fence height and style, often choosing durable options like vinyl fence installation for long-term performance and low maintenance.
Choosing the material significantly impacts the schedule. For example, wood requires immediate staining or sealing after installation to prevent warping, whereas vinyl is ready immediately but often has longer lead times for shipping. According to data from HomeAdvisor, the national average cost for fence installation typically falls within a standard range, but material availability and market demand can shift timelines and prices quickly.
Permitting and Approvals
This phase is often the most variable and can last anywhere from a few days to several weeks. Most municipalities require a permit for any structure over a certain height. The application process usually requires a site plan showing the fence location and property lines.
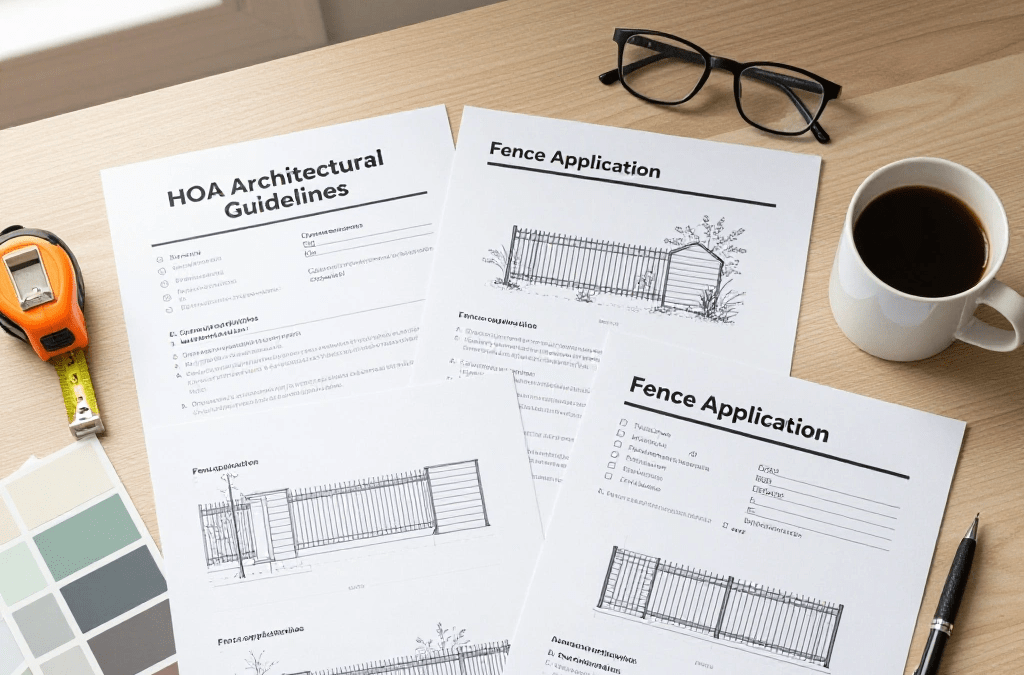
Homeowners living in communities with a Homeowners Association (HOA) need an additional layer of approval. HOAs often have strict covenants regarding fence height, material, and color. Submitting detailed plans early helps avoid rejection. If the property is near a road or intersection, the city might require a sight-distance survey to ensure the fence does not block the view of traffic.
Regional Guidance: Climate and Ground
In northern climates, the depth of the frost line dictates how deep fence posts must go. Posts typically need to be set 36 to 48 inches deep to prevent heaving during freeze-thaw cycles. This requirement increases labor time compared to southern regions, where 24 inches might suffice, especially when installing durable systems like aluminum fence installations. Always check local building codes for specific frost line requirements before starting.
Utility Marking and Material Ordering
Once permits are approved, the project enters the preparation phase. This involves two critical parallel tasks.
First, utility marking is mandatory. Homeowners or contractors must contact a local utility locating service to mark underground lines for gas, water, electricity, and communications. This service is usually free, but it requires advance notice, often 48 to 72 hours. Digging without these marks is dangerous and can lead to severe fines or service outages.
Second, materials are ordered. If the chosen materials are in stock at a local supplier, this step is quick. Custom colors or high-end composite materials often ship from the manufacturer, which can add 1 to 3 weeks to the timeline.
Material Comparison Table
Different materials affect the installation timeline differently. The table below compares common privacy fencing options.
| Material Type | Typical Lead Time | Install Difficulty | Weather Sensitivity |
|---|---|---|---|
| Pressure Treated Wood | 1 – 3 Days | Moderate | High (Cannot install in heavy rain) |
| Vinyl (PVC) | 1 – 3 Weeks | High (Requires precise leveling) | Moderate (Panels expand in heat) |
| Aluminum/Steel | 1 – 2 Weeks | Low (Panels are lightweight) | Low (Can be installed in most conditions) |
| Composite | 2 – 4 Weeks | Very High (Heavy components) | Moderate (Requires specific saw blades) |

The Installation Process
Once materials arrive and the site is marked, the crew schedules the build. For a standard residential backyard, this takes 1 to 3 days, depending on the linear footage and terrain.
Day 1: Layout and Post Setting The crew starts by laying out the fence line using string to ensure straight lines and accurate angles. Then, the digging begins. For manual digging, a crew member uses post-hole diggers or a power auger. In rocky soil, this process is slower. Once holes are dug, posts are set in concrete. The concrete must cure before the rest of the fence is attached. Depending on the temperature and humidity, this curing step might require waiting until the next day or even two days, a critical step often emphasized in security fence installation guides to ensure long-term stability and performance.
Day 2: Panels and Rails After the posts are set, the crew attaches the horizontal rails and the vertical panels or pickets. This phase moves quickly because the heavy infrastructure work is complete. Gates are hung during this stage to ensure they swing freely and latch correctly.
Day 3: Finishing Touches If any trim work, post caps, or cleanup remains, the crew finishes this on the final day. For wood fences, this might not include painting or staining, as that is often a separate task for the homeowner or a specialized painting crew.
Things to Consider Before Making a Decision
- Property Lines: Never assume a hedge or an existing fence marks the actual boundary. A professional survey is the only way to confirm the legal property lines. Installing a fence on a neighbor’s property leads to expensive removal and reinstallation.
- Neighbors: Discussing the fence plan with neighbors is a courtesy, but it is also strategic. They might agree to split the cost if the fence benefits them, or they might point out drainage issues that could affect the installation.
- Accessibility: The crew needs a clear path to bring materials and equipment to the backyard. Narrow side gates or steep slopes can slow down the delivery of posts and panels.
Bonus Tips for a Smooth Installation
- Mark Sprinkler Heads: Utility locators do not mark private sprinkler systems. Homeowners should map out where these lines are or mark the heads with flags to prevent the auger from hitting them.
- Clear the Area: Remove patio furniture, potted plants, and toys from the work zone. This saves the crew time and prevents accidental damage to personal items.
- Lock Up Pets: The installation process involves loud tools and open gates. Dogs and cats should be kept indoors for their safety and to avoid interfering with the crew.
Conclusion
The timeline for a privacy fence project depends heavily on administrative steps rather than the physical labor. While the installation itself is quick, the permitting and ordering phases require patience. Homeowners should prepare for a 2 to 6 week process from start to finish. By understanding these phases and preparing the property beforehand, the installation will proceed without unnecessary delays. Evaluating the specific needs of the property, such as soil type and HOA rules, helps set realistic expectations for completion dates.
Get Your Project Started
Ready to begin your fence installation? Contact Acme Fence today to schedule a consultation. Acme Fence will guide you through every step of the process, from material selection to final installation. Call (330) 784-0456 to discuss your privacy needs and get an accurate timeline estimate for your property.
Frequently Asked Questions
How deep should fence posts be set?
Posts should be set below the frost line to prevent shifting. In many areas, this means burying at least one-third of the total post length.
Can fence installation happen in winter?
Yes, but concrete curing takes longer in cold weather. Frozen ground also makes digging much harder, which can increase labor hours.
Who handles the permit application?
Most professional contractors handle the permit process as part of their service, pulling the permit under their license. Homeowners generally pay the permit fees upfront.
How long does the concrete need to cure before hanging panels?
Standard concrete sets in 24 to 48 hours. The North American Fence Contractors Association (NAFCA). However, high-strength quick-setting concrete allows crews to continue work the same day. Acme Fence ensures the structural integrity of the posts before adding the weight of the panels.
What happens if the crew finds buried debris?
If the crew hits large rocks, old concrete, or buried roots, this can extend the timeline. Extra labor or heavy equipment might be needed to remove the obstruction.
Sources
- HomeAdvisor – A comprehensive resource for homeowners detailing average costs and project scopes for fence installation.
- International Association of Certified Home Inspectors (InterNACHI) – Provides technical standards and best practices for fence construction, including post depths and structural integrity.
- The North American Fence Contractors Association (NAFCA) – Offers industry insights and professional standards for fencing materials and installation timelines.